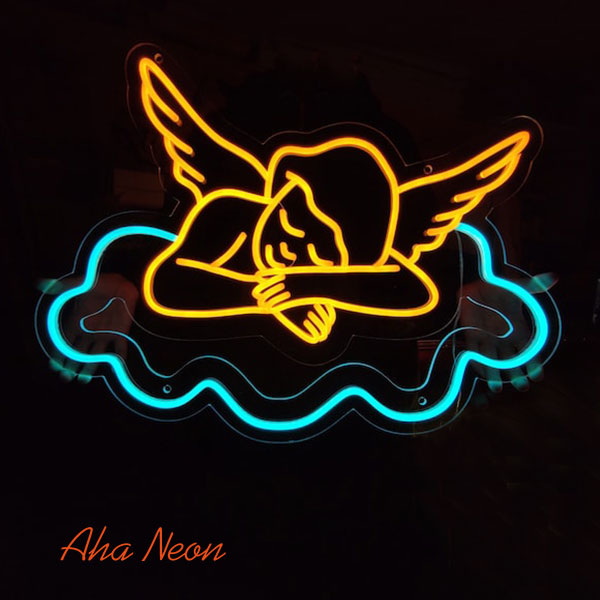
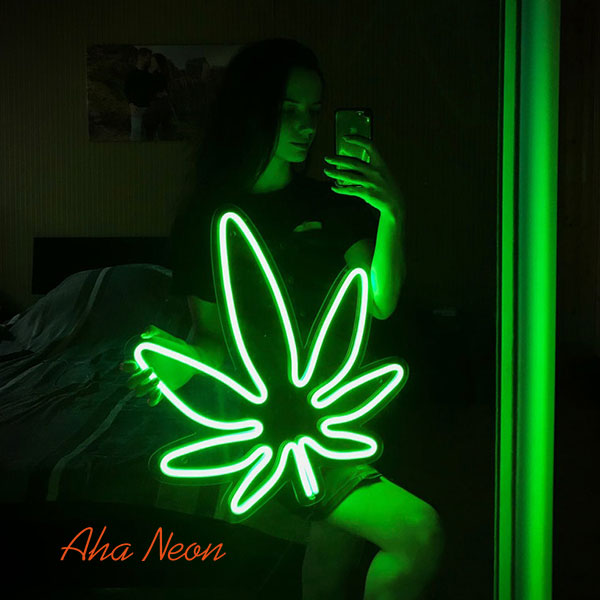
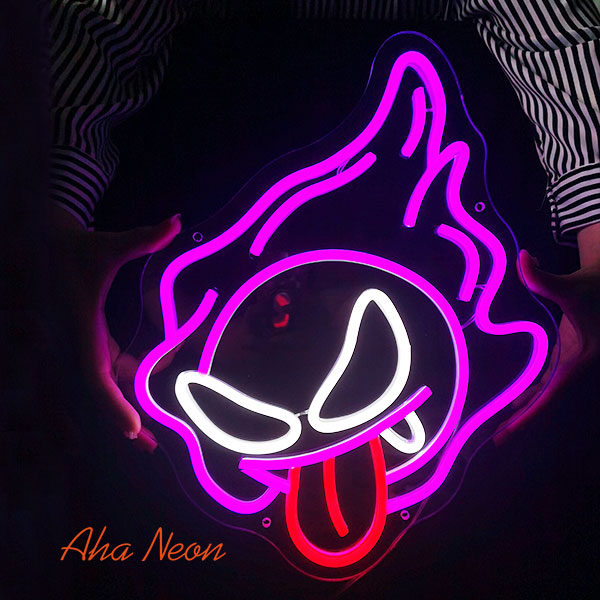
Ways to Install a Neon Sign
Neon signs have become a popular choice for stylish and eye-catching decor. Here's a guide on how to install a neon sign, covering the tools you'll need, mounting options, and how to hide wires.
Tools You'll Need:
- Drill and drill bit
- Wall anchors
- Screws
- Hanging wires (optional)
- Stand (optional)
- 3M strips (optional)
- Acrylic board
- Cushions
- Screw nuts
- Remote (for operating the sign)
Mounting Options:
-
Wall Mounting using screws:
- Drill holes in the wall.
- Insert wall anchors.
- Screw the sign onto the wall.
-
Hanging or suspending by wires:
- Pass wires through holes in the acrylic board.
- Hang the sign as desired.
-
Sitting on a table using a stand:
- Place the sign on a stand.
-
Attaching to a surface using 3M strips:
- Attach the sign to a surface without drilling holes.
Installation Steps:
Preparation:
- Find a friend for assistance if the sign is large.
- Handle the sign carefully to avoid damage.
- Hold the sign by the acrylic board when carrying.
Wall Mounting:
- Mark drill spots on the wall.
- Drill holes and insert wall anchors.
- Screw the sign onto the wall.
Hanging with Wires:
- Pass wires through acrylic board holes.
- Hang the sign.
Using a Stand:
- Place the sign on the stand.
Using 3M Strips:
- Tear apart the strip, click it together.
- Stick it on the acrylic back.
- Press the sign against the wall after removing the remaining liner.
- Wait 1 hour and realign the sign to the strips.
Hiding the Wires:
- Neon signs come with clear cables and plug adapters.
- To hide wires, use a sign with a colored acrylic board or hard-wire the cable into the wall.
- Note: Hard-wiring eliminates remote control functionality.
Operating the Sign:
- Connect the LED controller to the clear cable and the adapter.
- Ensure batteries in the remote.
- Use the remote to control the neon sign.
- Keep the remote in a safe place to avoid loss or damage.


Leave a comment
This site is protected by reCAPTCHA and the Google Privacy Policy and Terms of Service apply.