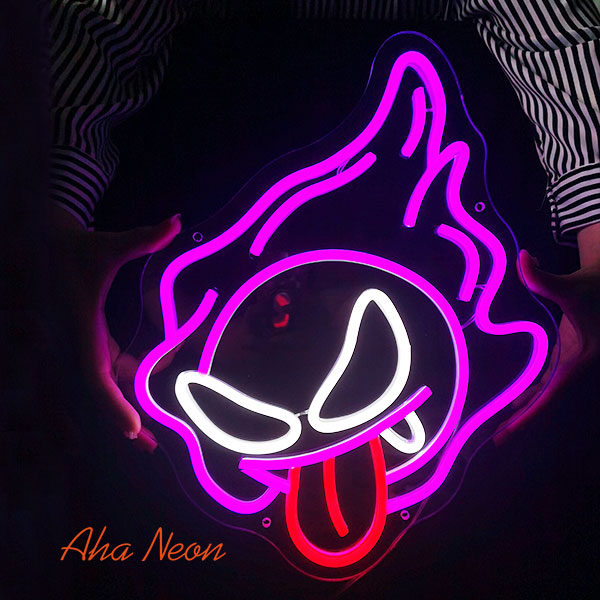
Introduction
In the realm of contemporary interior design, there's a captivating trend that's been gaining momentum – neon flex signs. These luminous artworks combine the nostalgic charm of classic neon with the versatility and efficiency of modern LED technology, offering a unique way to brighten spaces with a personalized touch. If you've ever been intrigued by these glowing creations and wondered how they're made, you're in the right place. In this guide, we'll walk you through the process of crafting your own neon flex sign, from conceptualization to installation.
Understanding Neon Flex Signs
Before diving into the crafting process, it's essential to understand what neon flex signs are and how they work. Unlike traditional neon signs, which use glass tubes filled with neon gas, neon flex signs utilize flexible LED tubing encapsulated in a colored, translucent jacket. This allows for greater flexibility in design, as the tubing can be bent and shaped to create intricate patterns and lettering.

Materials and Tools Needed
To embark on your neon flex sign crafting journey, you'll need the following materials and tools:
- Neon flex LED lights: The heart of your creation, providing vibrant illumination.
- Acrylic sheet or preferred backing material: Offers structural support and a canvas for your design.
- Strong adhesive or glue: Ensures secure attachment of the LED tubing to the backing material.
- Wire cutters and scissors: Essential for cutting and shaping the tubing to fit your design.
- Mounting hardware: Allows for easy installation of the finished sign.
- Design template (optional): Helps guide your design and ensure accuracy.
- Safety gear: Gloves and goggles to protect against potential hazards during construction.
Designing Your Neon Flex Sign
The first step in creating a neon flex sign is conceptualizing your design. Whether it's a catchy phrase, a brand logo, or an abstract shape, your design sets the tone for the entire project. Consider factors such as visibility, aesthetics, and the message you want to convey. Once you have a clear vision of your design, it's time to choose the right neon flex tubing.
Choosing the Right Neon Flex Tubing
Neon flex tubing comes in a variety of colors, thicknesses, and flexibilities. Select tubing that aligns with your design's complexity and aesthetic needs. Consider factors such as tubing luminosity, color temperature, and flexibility. Keep in mind that some designs may require multiple colors of tubing to achieve the desired effect.

Crafting Your Neon Flex Sign
With your design and tubing selected, it's time to bring your vision to life. Here's a step-by-step overview of the crafting process:
- Prepare the Backing Material: Clean and prepare the surface of your chosen backing material, whether it's an acrylic sheet or another preferred material.
- Transfer the Design: If using a template, transfer your design onto the backing material using a marker or light etching.
- Measure and Cut the Tubing: Measure the tubing against your design, allowing for a little extra length for adjustments. Use wire cutters to cut the tubing to the appropriate length, ensuring clean edges.
- Shape the Tubing: Carefully bend the tubing to match your design, using gentle pressure to avoid damaging the tubing. For complex shapes, you may need to use a heat gun to soften the tubing and make it more pliable.
- Secure the Tubing: Apply adhesive to the back of the tubing and press it onto the backing material, following your design. Ensure each section is firmly attached and allow ample time for the adhesive to set.
- Wire and Power Setup: Connect the ends of the neon flex tubing to the power supply, following the manufacturer's instructions. Make sure all connections are secure and insulated to prevent electrical hazards.
Finishing Touches and Installation
Once your neon flex sign is assembled and wired, it's time for the finishing touches:
- Test the Sign: Before installation, test the sign to ensure all sections light up properly and there are no electrical issues. Address any dim sections or connectivity problems.
- Mount the Sign: Choose a suitable location for your neon flex sign, considering factors such as visibility, power source proximity, and overall aesthetic. Use appropriate mounting hardware to secure the sign in place.
Maintenance and Care
To ensure the longevity and brightness of your neon flex sign, follow these maintenance tips:
- Regular Cleaning: Wipe down the sign periodically with a soft cloth to remove dust and debris.
- Electrical Inspection: Check the electrical components of the sign periodically for signs of wear or damage. If any section of the sign stops working, troubleshoot the connections and wiring as needed.
Conclusion
Crafting a neon flex sign is a rewarding and creative endeavor that allows you to add a personalized touch to any space. Whether you're decorating your home, adding ambiance to a special event, or showcasing your brand, a custom neon flex sign is sure to make a statement. With the right materials, tools, and design inspiration, you can create a luminous masterpiece that illuminates your world with style and flair.


Leave a comment
This site is protected by reCAPTCHA and the Google Privacy Policy and Terms of Service apply.